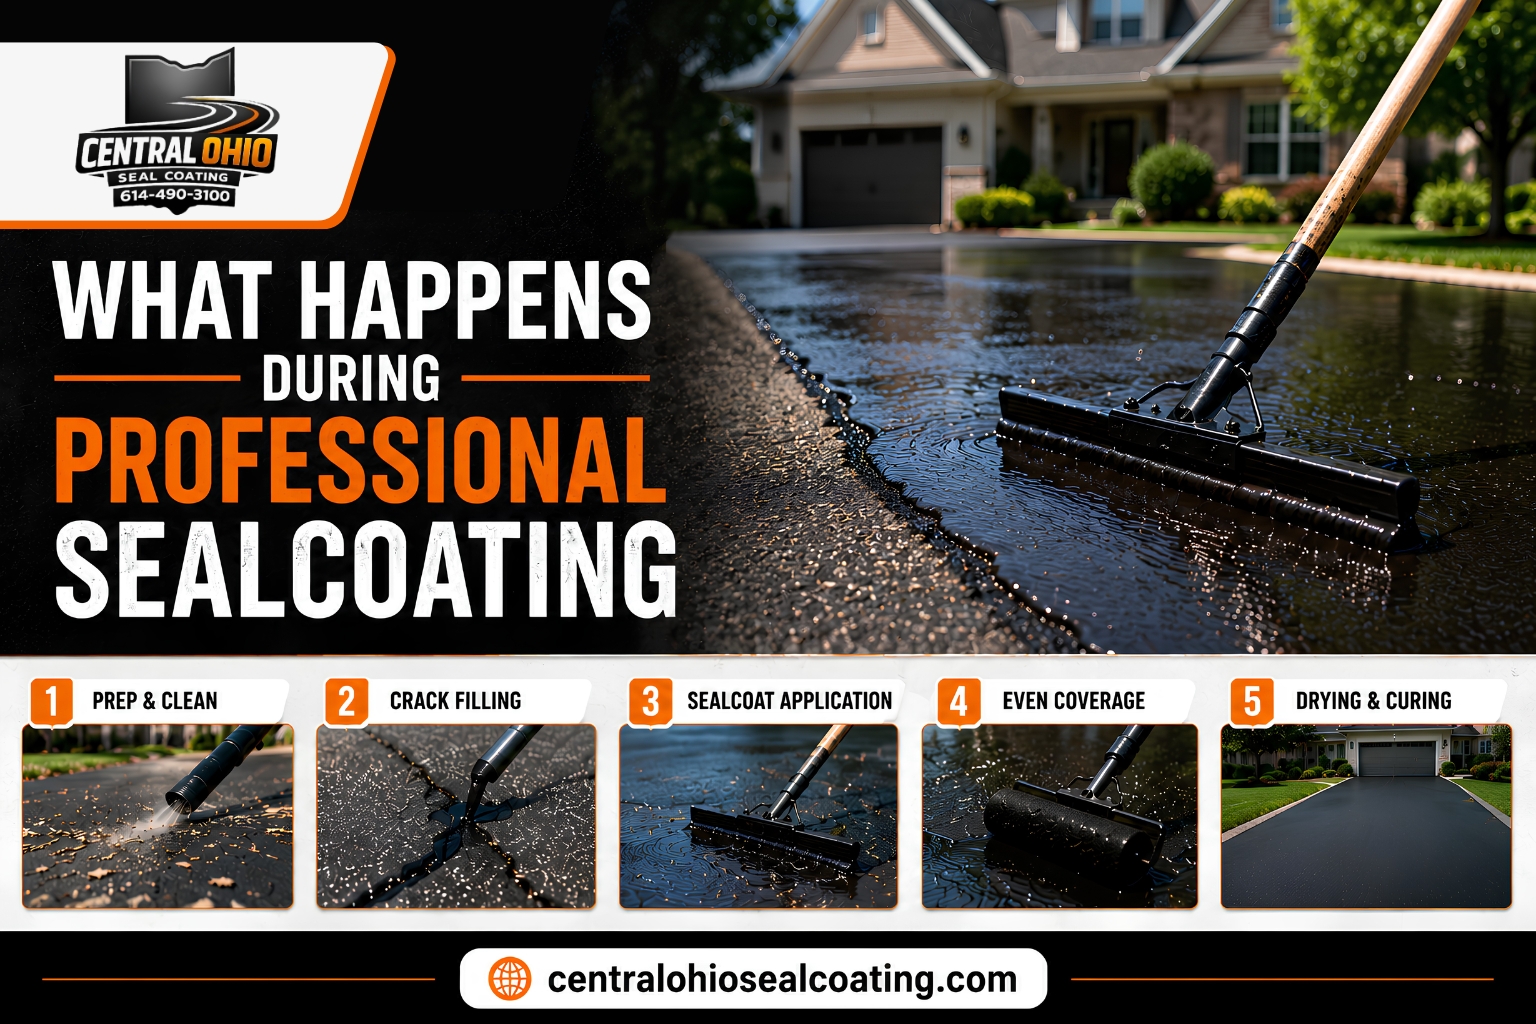

Why do some sealcoating projects last for years while others begin peeling, wearing, or fading much sooner than expected? The difference often comes down to what happens before the sealcoat is applied. Surface preparation is the foundation of every successful sealcoating project. Without thoroughly cleaning the pavement, repairing existing damage, and preparing the asphalt correctly, even the highest-quality sealcoat cannot properly bond to the surface. That is why asphalt surface preparation Ohio is one of the most important steps in protecting driveways, parking lots, and other asphalt surfaces.
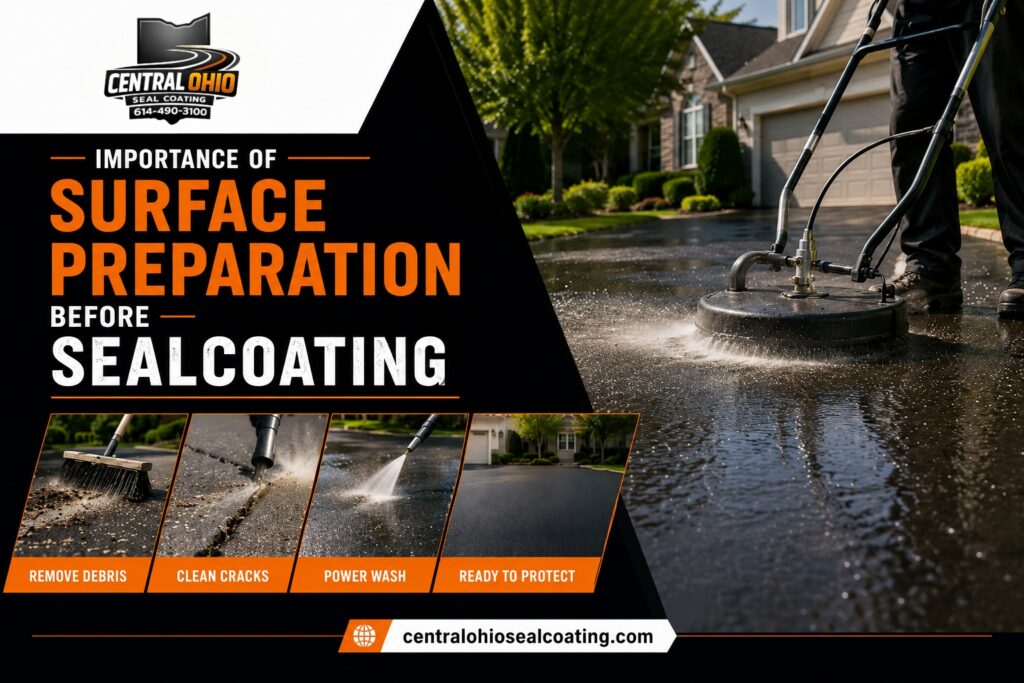
Ohio’s asphalt experiences constant exposure to UV rays, rain, snow, freeze-thaw cycles, vehicle traffic, oil leaks, and dirt accumulation. Over time, these conditions leave behind contaminants that interfere with sealcoat adhesion. According to Central Ohio Seal Coating, professional sealcoating is much more than simply applying a protective coating—it begins with detailed surface preparation, cleaning, crack filling, and minor repairs to ensure the finished sealcoat performs as intended and provides long-term protection.
Whether you own a residential driveway or manage a commercial parking lot, understanding the importance of surface preparation helps explain why professional sealcoating consistently delivers better and longer-lasting results.
What Is Surface Preparation?
Surface preparation refers to every step completed before the sealcoat is applied.
Its purpose is to create a clean, stable surface that allows the sealcoating material to bond evenly with the asphalt.
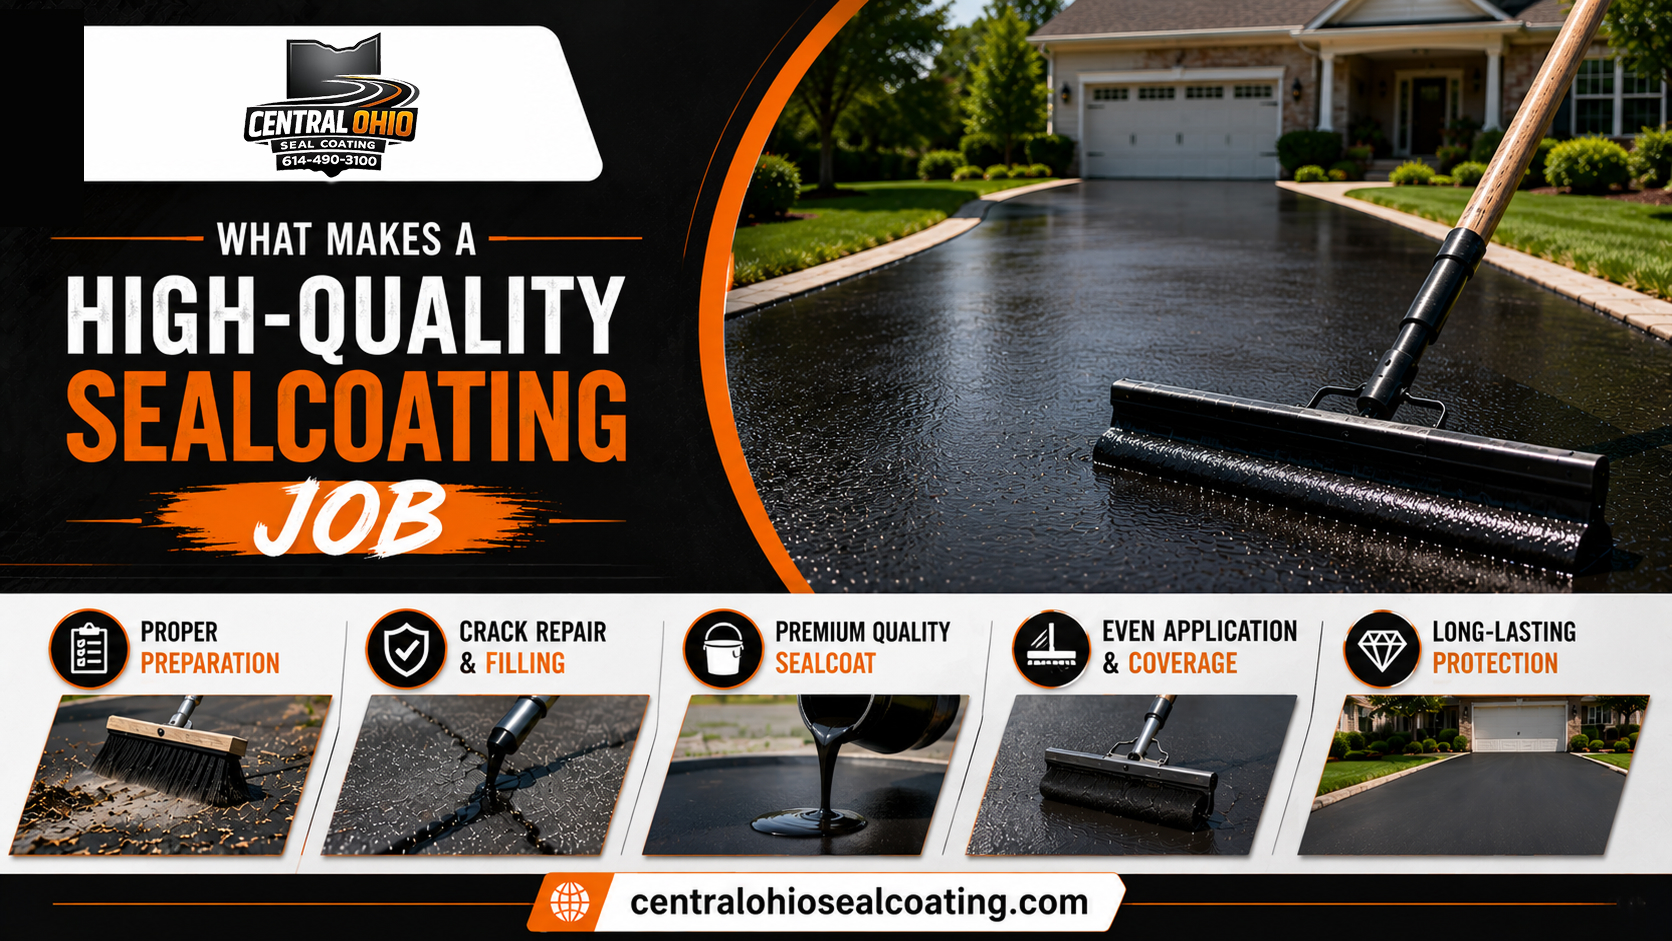
Professional preparation typically includes:
- Complete pavement inspection
- Removing dirt and debris
- Cleaning vegetation from pavement edges
- Removing loose aggregate
- Treating oil and fuel stains
- Crack filling
- Minor asphalt repairs
- Final surface cleaning
Central Ohio Seal Coating explains that proper preparation is a major part of professional sealcoating because dirt, debris, oil spots, and minor surface issues should be addressed before applying the sealcoat. Without that preparation, the finished result may not bond properly or last as expected.
Ohio Climate and Asphalt Challenges
Central Ohio pavements face harsh conditions year-round. Freeze-thaw cycles cause water in cracks to expand and worsen splits, while snow, ice, and road salts abrade the surface. Heavy summer sun and UV rays oxidize asphalt, making it brittle and prone to surface raveling. Rain can quickly wash oil and debris into the pavement, weakening the binder. Central Ohio Seal Coating notes that asphalt here is constantly exposed to “harsh weather, moisture, sunlight, [and] freeze-thaw cycles”. In practice, this means that any dirt, vegetation, or oil left on the pavement will interfere with sealcoat adhesion. Proper surface prep addresses these issues before sealing: it removes contaminants and repairs minor damage so the sealcoat bonds fully and protects against further weather damage.
Why Surface Preparation Matters
Sealcoating is designed to protect asphalt—not hide existing problems.
If contaminants remain on the pavement, the sealcoat may:
- Lose adhesion
- Wear unevenly
- Peel prematurely
- Cure inconsistently
- Leave visible imperfections
Proper preparation creates the clean, stable surface needed for long-term pavement protection.
Surface Preparation Process Overview
| Preparation Step | Why It Matters |
|---|---|
| Pavement Inspection | Identifies existing damage |
| Surface Cleaning | Removes dirt and loose debris |
| Oil Spot Treatment | Improves sealcoat adhesion |
| Crack Filling | Prevents water penetration |
| Minor Asphalt Repairs | Restores damaged areas |
| Edge Cleaning | Creates clean application lines |
| Final Blowing/Sweeping | Removes remaining particles |
| Surface Drying | Allows proper bonding |
Each preparation step contributes to the overall success of the project.
Step-by-Step Surface Preparation Process
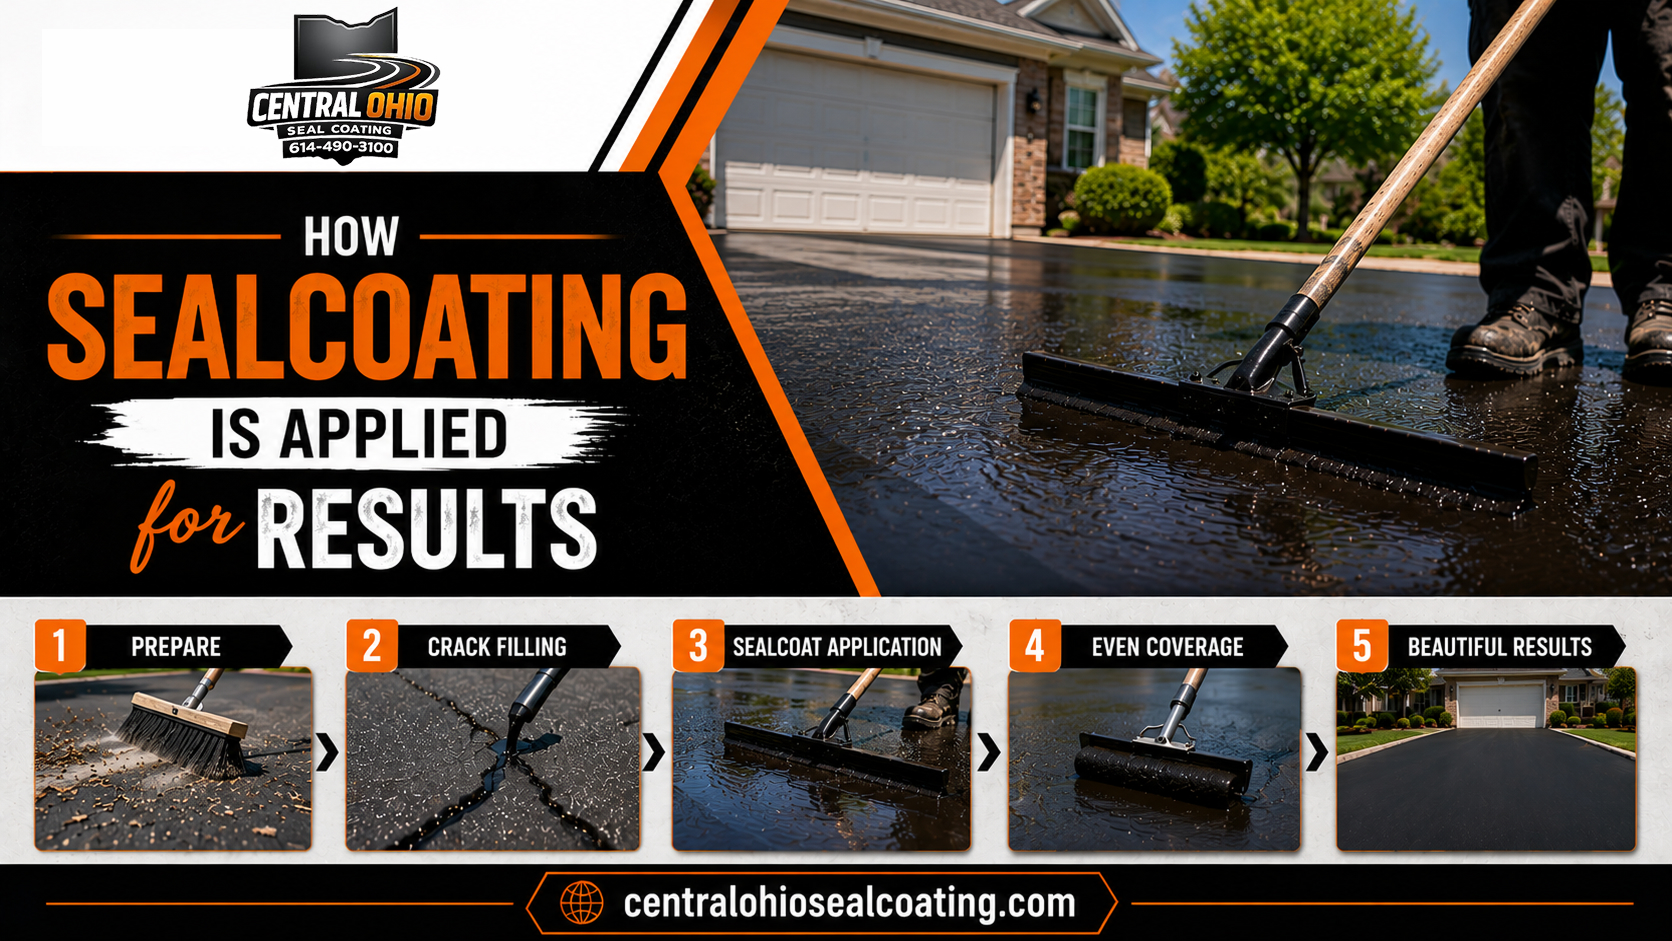
A structured, stepwise approach to preparation yields the best results. Below is a typical sequence followed by professionals:
- Inspect and Document Damage. Begin with a thorough walk-through of the pavement. Note all defects: cracks, potholes, settled or soft spots, drainage issues, faded striping, and especially oil or grease stains. Mark cracks, edges, and stains with chalk or tape so nothing is missed. One sealcoating guide recommends dividing the surface into zones (seal-ready, repair-needed, patch-needed) to plan work and materials efficiently. This evaluation ensures you understand every problem area before starting repairs.
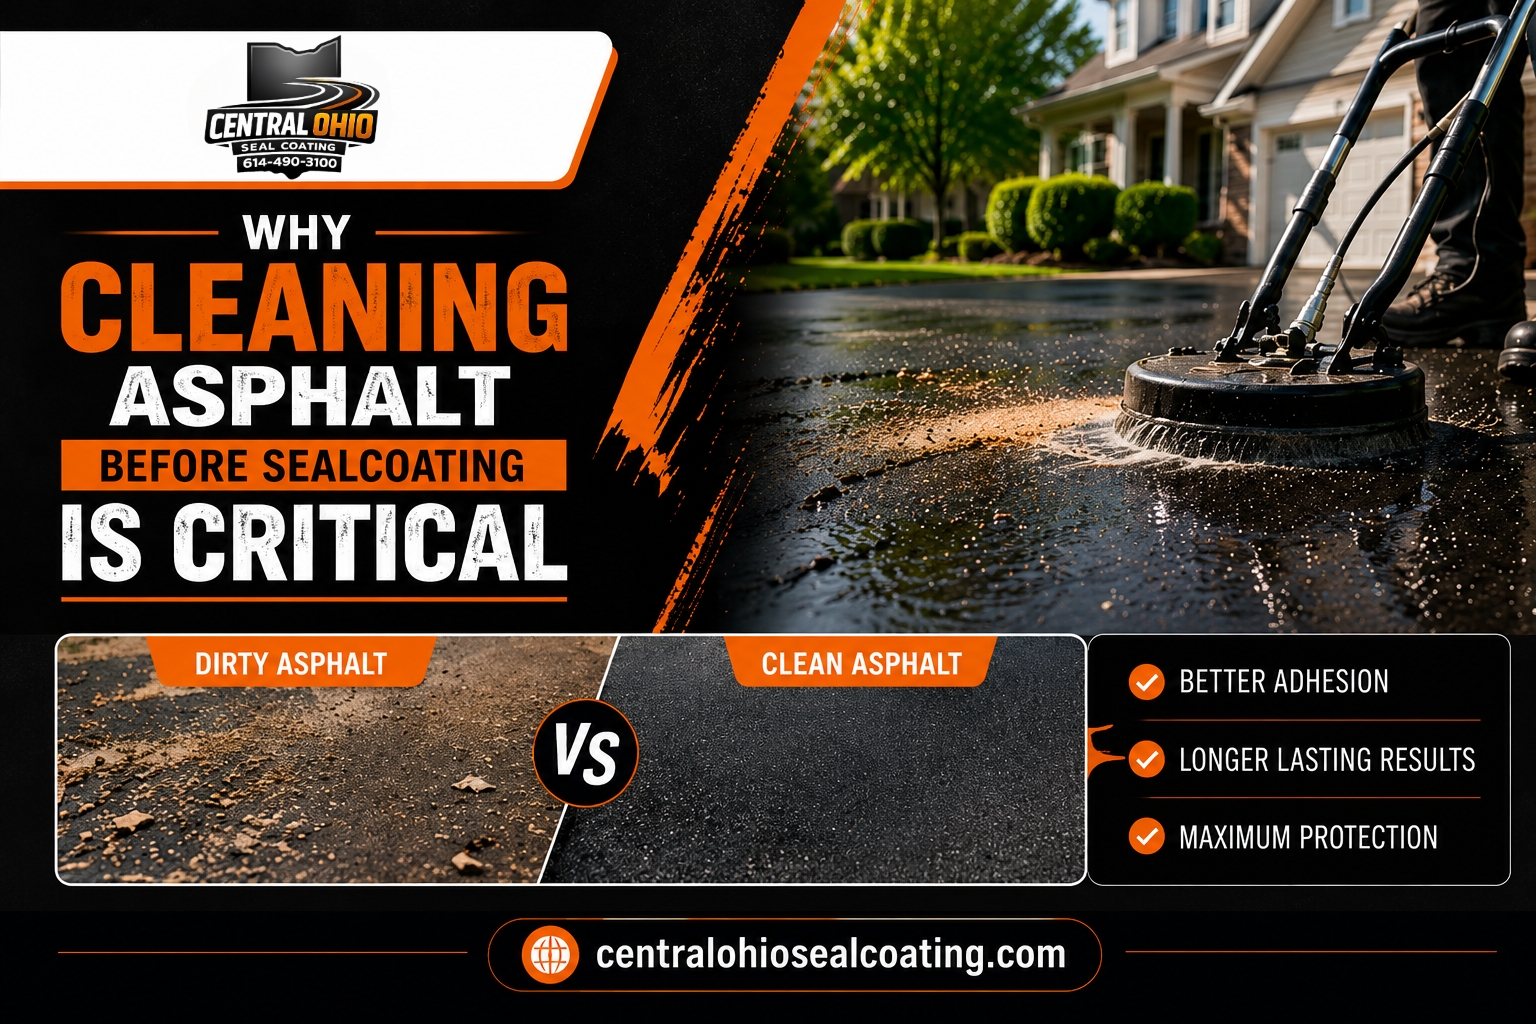
- Remove Loose Debris. Clear the area of sand, gravel, leaves, and other debris. Use a powerful sweeper or leaf blower to blow loose dirt away from the cracks and joints. If possible, use a power broom for stubborn caked-on dirt or moss. Removing all loose particles is critical; even fine dust can weaken the sealcoat’s bond. Many contractors insist that sweeping and blowing alone are not enough – any remaining grit can telegraph through the sealcoat if not removed.
Even a small amount of sand, leaves, or gravel on the pavement will prevent sealcoat from sticking evenly. Thorough sweeping and blowing (often with powered equipment) are essential preparation steps.
- Clean Oil and Stains. Oil, gas, and grease spots pose a major obstacle. These hydrocarbons soften asphalt and repel sealants. Treat stained areas by scrubbing with a degreasing cleaner or detergent and flushing with water until the spot is “water-break-free” (no beading of water on the surface). For deep stains, a propane torch burn-off followed by an oil-spot primer may be used. Jet-Black’s driveway guide likewise advises degreasing oil patches and scrubbing them clean before sealing. Only when stains are fully removed and dried should you proceed – any residual oil will cause premature sealcoat failure.
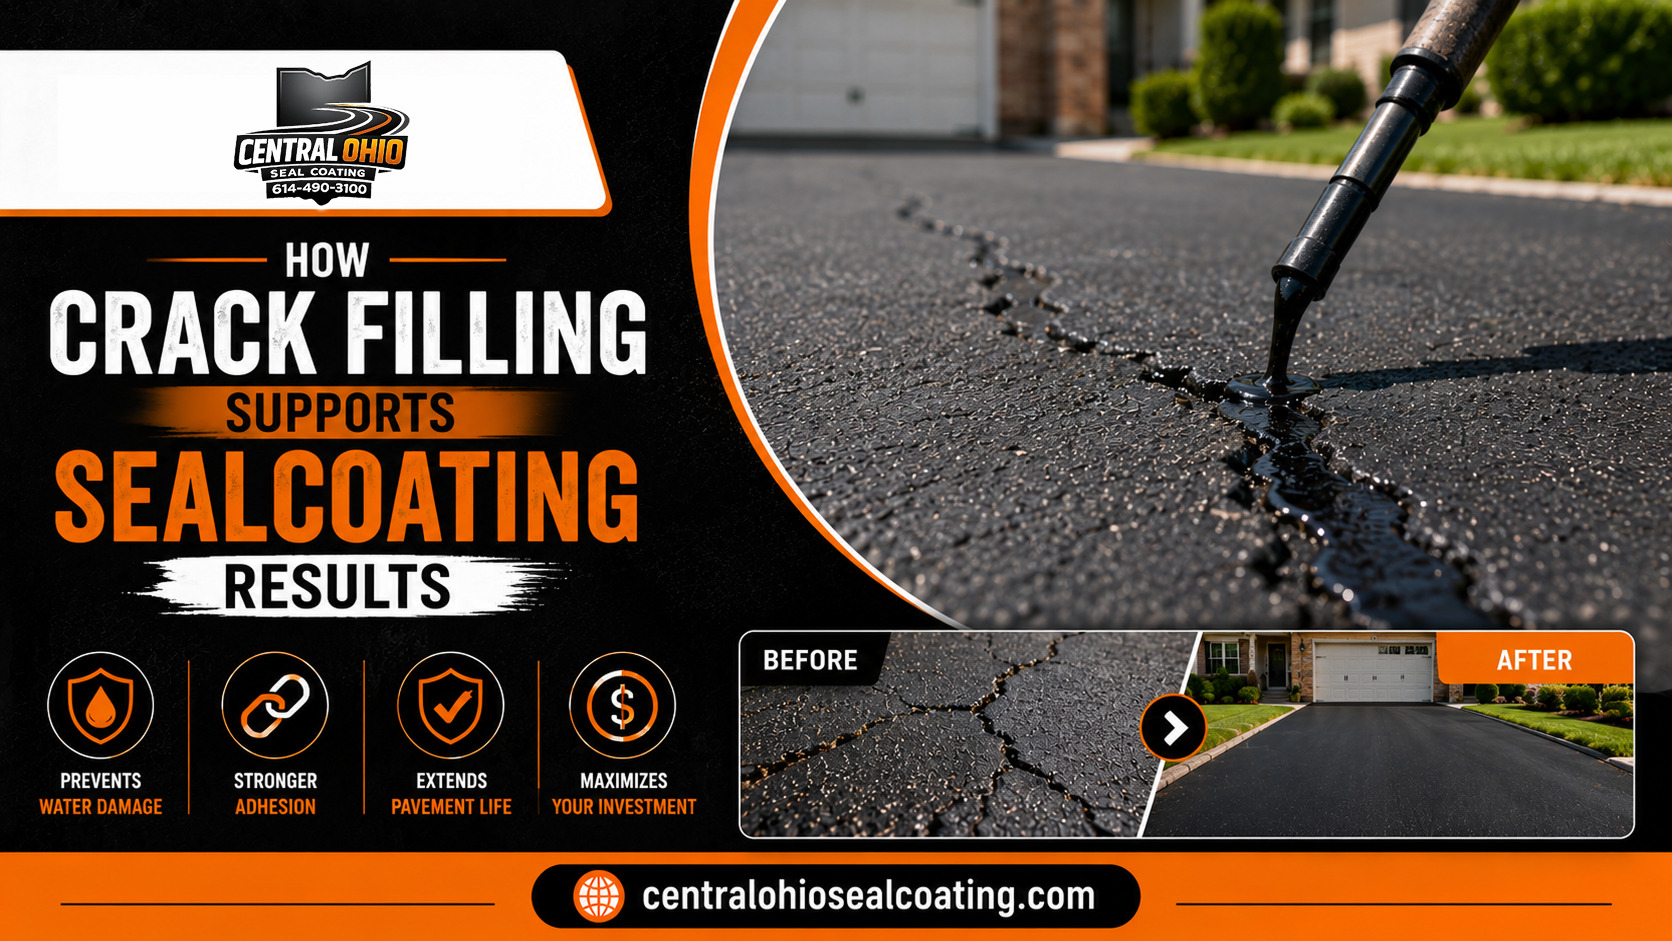
- Fill Cracks and Repair Minor Damage. Sealcoating is not a patching material. All cracks should be filled first to prevent water infiltration. Smaller cracks (up to ¼–¾ inch) should be cleaned of debris and filled with a rubberized crack sealant. One contractor guide recommends using pourable asphalt filler for hairline cracks and hot-rubber crack seal for ¼–½-inch gaps. Cracks over ½ inch typically require cutting out and patching with asphalt before sealing. Compact and level the filler so it’s flush with the pavement – raised ridges will telegraph through the sealcoat and wear quickly. Similarly, small potholes or “alligator” cracked areas should be patched or resurfaced as needed; sealcoat alone will not fix structural failures.
- Clean Edges and Mask Off. Trim grass, weeds, and loose soil from pavement edges. A neat edge allows sealcoat to form a clean line along sidewalks or landscape beds. Apply masking tape or cardboard to adjacent concrete curbs, walls, or plants to prevent spills. Experienced contractors use fencing or cones to cordon off the work area and cover curbs. These steps ensure sealcoat goes exactly where intended and protect non-asphalt surfaces.
- Final Cleaning and Drying. Immediately before application, do one last blow or sweep of the entire surface. If a pressure washer is available, a low-pressure rinse can help remove any embedded grime, but be sure not to soften the asphalt by using too high a pressure. Finally, allow the pavement to dry completely. Even shaded pavement can retain moisture; one sealcoating guide stresses keeping surfaces “dry to the touch” in all shaded areas. Any remaining moisture will interfere with bonding and can cause peeling later.
Equipment and Materials
Professional prep uses specialized tools. Key equipment includes power brooms or mechanical sweepers for heavy scrubbing, gas-powered leaf blowers for debris, and stiff-bristle brushes for scrubbing out dirt and flaking paint. Asphalt-friendly degreaser or detergent products remove oils. For crack repair, pros may use crack sealing melters or applicators (for hot sealant) and pour pots for cold pour filler. Asphalt patch mix (cold or hot) is needed for any potholes or deep repairs. Materials include crack sealant, patching asphalt, and high-grade asphalt sealcoat. Finally, keep tools like trowels, squeegees, and shovels on hand, plus PVC tape/cardboard for masking. Don’t forget safety gear: gloves, eye protection, and high-visibility clothing are standard for workers prepping the site.
Quality Checks & Application Conditions
Proper sealcoating requires strictly controlled conditions. The pavement and weather must meet these criteria before coating:
- Temperature: Ambient air should be at least 50°F and rising, with pavement at 60°F or higher. (Ideal application temps are 70–90°F.) Avoid sealing if temperatures will drop below 50°F within 24 hours, as cold or freezing conditions can ruin the emulsion.
- Rain & Humidity: Ensure no rain is forecast during application or curing. Sealcoat needs direct sunlight and low humidity (ideally <60%) to cure properly. Pavement must be bone-dry: test by sprinkling water on the surface; if beads form, more cleaning is needed.
- Cleanliness: After final sweeping/blowing, the surface should be entirely free of dust, dirt, leaves, or sand. Even small debris will create bumps or prevent bonding.
- Inspection: Do a final walk-through to verify all repairs are done and the surface looks uniform. Central Ohio Seal Coating’s own process includes a “final inspection” to check for even coverage and proper adhesion.
These acceptance checks prevent costly rework. By contrast, rushing to sealcoat a damp or dirty pavement invariably leads to failures.
Seasonal Timing and Maintenance Intervals
Central Ohio’s season for sealcoating typically runs from late spring through early fall. Most experts agree the best months are May through September, when nights are above freezing and days warm. Sealcoating is not done in winter – plants and emulsion supply often shut down, and cold temperatures prevent curing. Avoid early spring (when lingering frost or rain is possible) and late fall (when cold nights return). Ideally, plan sealcoating in stable dry periods (e.g. June–August in Columbus). Regular reapplication should follow a schedule: industry guidance is to sealcoat every 2–3 years for normal traffic. High-traffic parking lots or driveways may need it more often (around every 1–2 years). Inspect your asphalt each fall and spring to catch problems early and decide if re-sealing is due.
Common Mistakes to Avoid
Even experienced DIYers can slip up. Common pitfalls include:
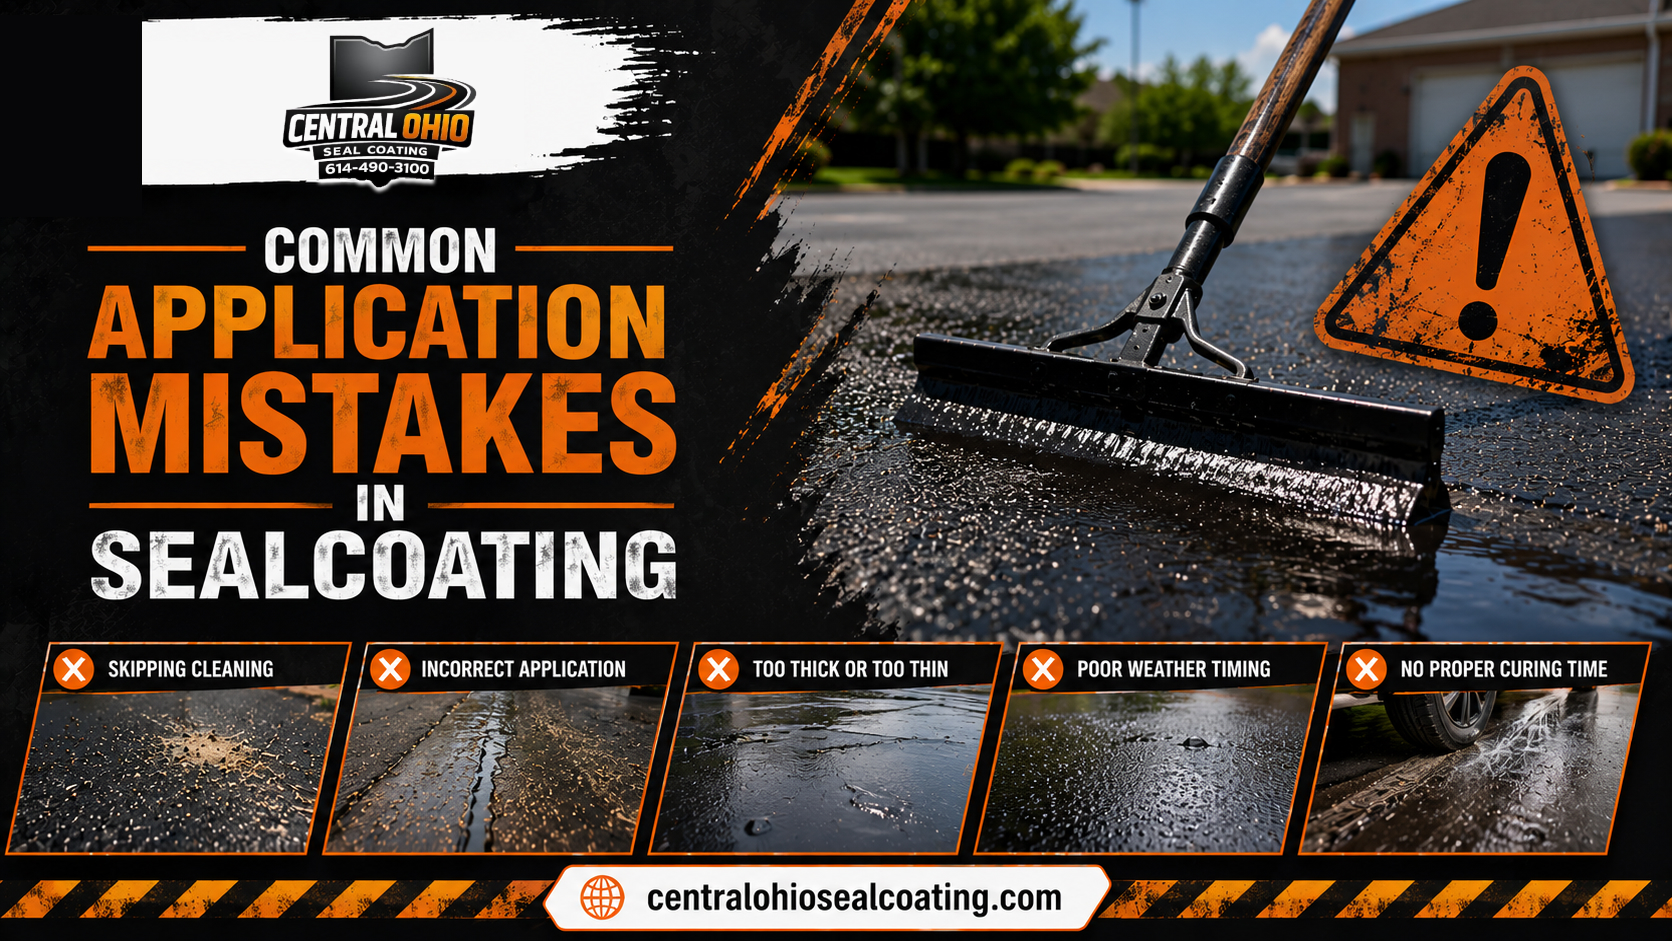
- Skipping Cleaning: Failing to remove all dirt, leaves, and sand will cause the sealcoat to “fish scale” or flake.
- Ignoring Oil Stains: Sealcoating over grease spots will lead to weak spots or peeling. Always degrease thoroughly.
- Neglecting Cracks: Sealing pavement with active cracks only hides them temporarily. Unfilled cracks grow and destroy the new sealcoating.
- Wrong Weather: Applying sealant in cold (<50°F) or damp conditions locks in moisture. Rain or dew on fresh sealcoat washes it away.
- Poor Application Technique: Uneven spreading, using diluted or expired sealer, or not applying a full two coats can all shorten life. Many DIY jobs suffer from “weak sealcoat bonding” or “uneven application” as noted in Central Ohio Seal Coating’s list of DIY challenges.
- Overlooking Safety/Detail: Not taping off edges leads to messy lines; failing to post “wet paint” signs can cause traffic tracking. Each small mistake compounds.
Avoiding these ensures that the sealcoat adheres and looks professional.
Contractor vs Homeowner Prep Checklist
For homeowners planning sealcoating (DIY or pro), here is a quick checklist:
- Inspect Pavement: Walk the area, mark all cracks, stains, and low spots. Note drainage flow after rain.
- Schedule Correctly: Plan work for a warm, dry week (50°F+ and no rain). Late spring or summer is best.
- Clear the Area: Remove cars, loose debris, dirt piles, weeds, etc. Ensure surfaces are unobstructed.
- Repair First: Fill cracks, seal potholes, and replace any badly settled sections in advance. Ensure patch materials have cured.
- Clean Thoroughly: Sweep, blow, and (if needed) pressure-wash the pavement. Treat oil spots until no grease remains.
- Protect Surroundings: Mask off nearby concrete, plants, or walls with tape and cardboard. Cover any items on the pavement.
- Check Moisture and Temperature: Do not proceed unless pavement is fully dry. Seal only if ambient and surface temps exceed ~50–60°F.
- Final Review: Just before sealing, do a last cleanup and confirm all repairs are flush and complete.
- Quality Control: After sealcoating, inspect the finish for uniform coverage and proper coating thickness. Make sure all masked edges are neat.
With these steps, you ensure either DIY or a hired contractor has set the project up for success.
DIY vs. Professional: Prep Comparison
| Aspect | DIY Homeowner | Professional Contractor |
|---|---|---|
| Time/Convenience | Time-consuming (can take days to prep and coat the entire area). | Fast (crews and sprayers cover ground quickly). |
| Equipment | Basic tools (brooms, blowers, shovels, rollers). No heavy machinery. | Specialized machinery (spray rigs, melters, power brooms, compressors). |
| Risk of Error | Higher – inexperience can lead to missed debris, uneven coats, or premature failure. | Lower – experienced crew, adherence to specifications, and proper weather timing. |
| Expected Longevity | Often shorter if preparation or application is imperfect. May require re-coating sooner. | Longer – professional preparation and a more uniform coating generally provide a longer-lasting result under similar conditions. |
DIY sealcoating can produce acceptable results for smaller projects, but the quality and longevity largely depend on thorough surface preparation and proper application techniques. Professional contractors typically achieve more consistent results because of their specialized equipment, experience, and adherence to recommended preparation and application procedures.
Problems Caused by Poor Surface Preparation
Skipping preparation often leads to premature sealcoat failure.
Common problems include:
Uneven Appearance
Debris trapped beneath the sealcoat creates rough, inconsistent finishes.
Poor Adhesion
Oil, dirt, and loose material reduce the bond between asphalt and sealcoat.
Shorter Service Life
Poor bonding causes sealcoat to wear faster under traffic.
Water Penetration
Unfilled cracks continue allowing moisture beneath the pavement.
Higher Maintenance Costs
Premature failure often requires additional repairs and reapplication sooner than expected.
Benefits of Proper Surface Preparation
Professional preparation delivers significant long-term benefits.
These include:
- Better sealcoat adhesion
- More uniform appearance
- Longer-lasting protection
- Improved crack resistance
- Better moisture protection
- Reduced maintenance needs
- Enhanced curb appeal
- Greater pavement longevity
Each preparation step contributes to the overall success of the project.
Residential vs Commercial Preparation
Although the preparation process is similar, commercial parking lots often require more extensive work.
| Residential Driveways | Commercial Parking Lots |
|---|---|
| Light debris removal | Large-scale sweeping |
| Minor crack filling | Extensive crack sealing |
| Limited oil treatment | Multiple oil stain repairs |
| Smaller repair areas | Heavy-traffic surface repairs |
| Simple edge cleaning | Comprehensive surface preparation |
Commercial properties experience heavier traffic and therefore require more thorough preparation before sealcoating.
Why Professional Preparation Makes the Difference
Professional contractors understand that successful sealcoating begins long before the sealcoat is applied.
Their preparation process includes:
- Detailed inspections
- Professional cleaning equipment
- Proper crack repair
- Oil spot treatment
- Surface evaluation
- Quality control before application
Central Ohio Seal Coating explains that experienced contractors understand how to evaluate pavement condition, recommend the proper maintenance timing, and apply materials evenly for a consistent finish. That attention to detail produces a better-looking surface and more dependable long-term performance.
Why Choose Central Ohio Seal Coating?
Central Ohio Seal Coating provides comprehensive asphalt maintenance services for residential, commercial, and municipal properties throughout Central Ohio.
Services include:
- Asphalt sealcoating
- Crack filling
- Parking lot maintenance
- Surface preparation and cleaning
- Minor asphalt repairs
- Preventative pavement maintenance
- Driveway sealcoating
- Commercial parking lot sealcoating
The company emphasizes professional surface preparation, quality materials, and experienced workmanship to help protect asphalt from moisture, UV rays, oil spills, and everyday wear while improving appearance and extending pavement life.
Whether your pavement needs routine maintenance or complete sealcoating services, our experienced team carefully prepares every surface before application to ensure maximum adhesion, long-lasting protection, and a clean, professional finish.
Final Thoughts
The quality of a sealcoating project depends just as much on preparation as it does on the sealcoat itself. Proper cleaning, crack filling, oil spot treatment, minor repairs, and surface inspection create the ideal foundation for a durable protective coating.
For property owners searching for asphalt surface preparation Ohio, investing in professional preparation is one of the smartest ways to maximize the lifespan of both the sealcoat and the pavement beneath it.
At Central Ohio Seal Coating, we believe every successful sealcoating project starts with thorough preparation. Our experienced professionals take the time to inspect, clean, repair, and prepare every asphalt surface before applying high-quality sealcoating materials. This attention to detail helps homeowners and businesses throughout Central Ohio enjoy smoother, stronger, better-looking pavement that stays protected against Ohio’s challenging weather conditions for years to come.